How to check Tally port or change port in Tally Prime
Using Suvit on multiple systems with multiple Tally instances? Ensure each Tally ODBC port is unique for smooth and uninterrupted connectivity.
How to Check or Change Tally Port in Tally Prime
Follow these steps to check or update the Tally Port in Tally Prime for seamless connectivity with Suvit Desktop Application.
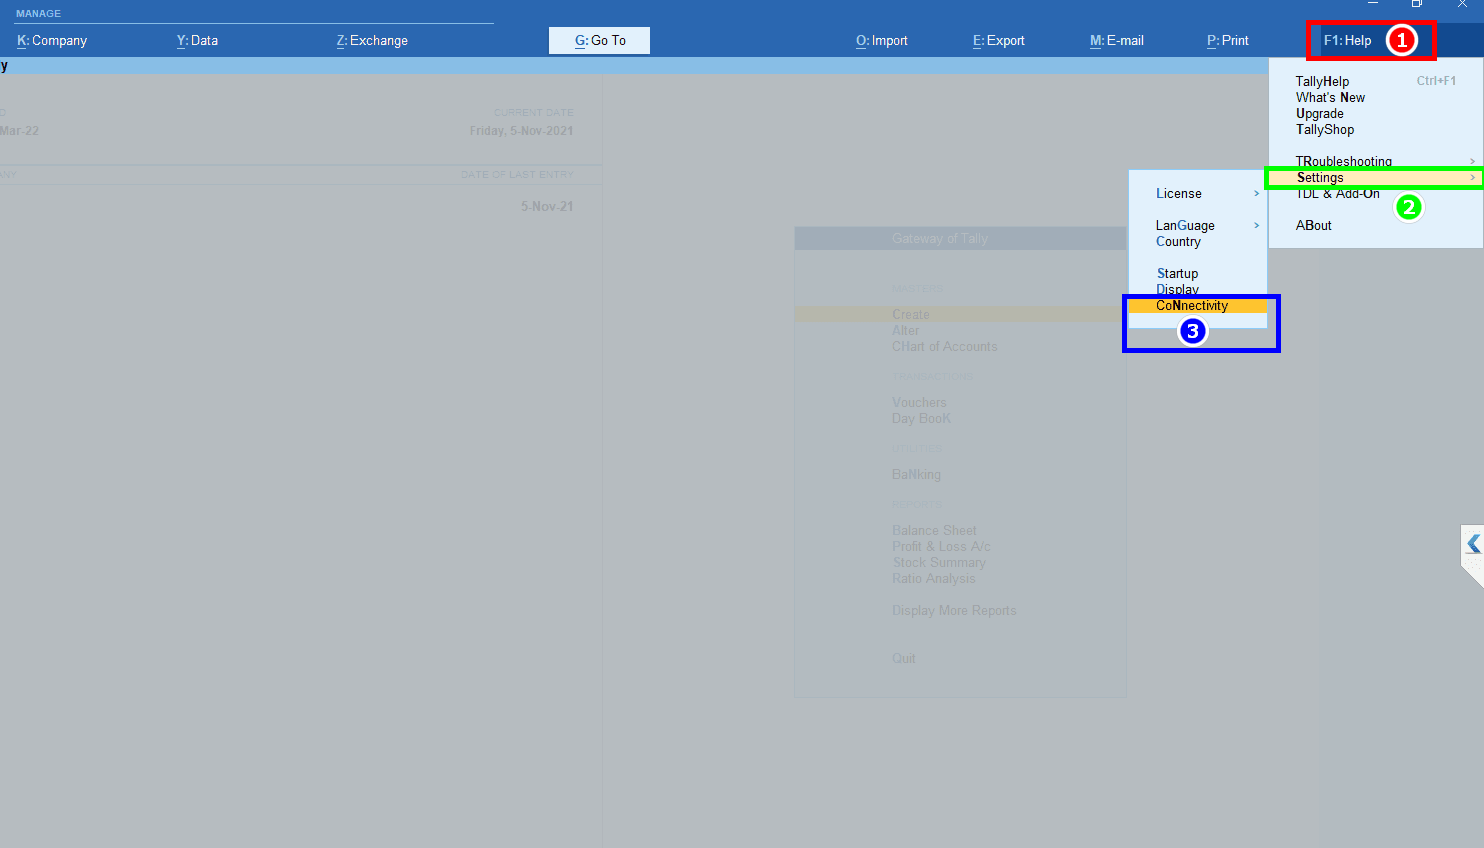
1. Press F1: Help to access the Configuration menu.
2. Select Settings from the Help menu.
3. Click on Connectivity.
Step 2: Access Connectivity Settings
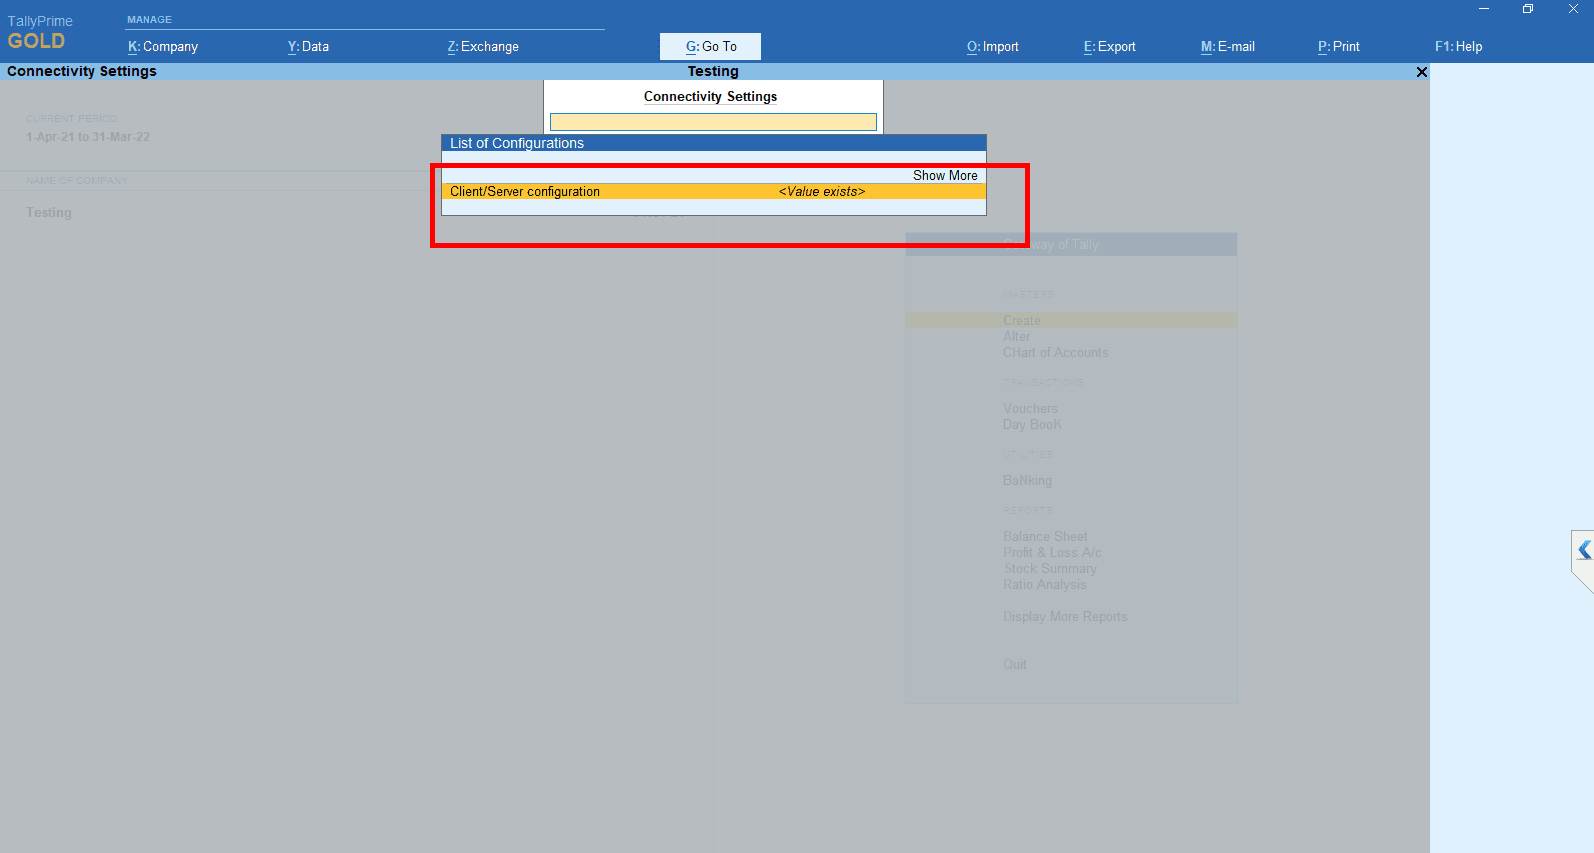
- Navigate to Client/Server Configurtion and Click Enter.

- Set Tally Prime Act as Both to enable both local and remote access.
- Enable ODBC by setting it to Yes.
- Set the Port Number as 9050 ✍ (You can choose any number between 9000 to 9999).
Step 4: Restart Tally Prime
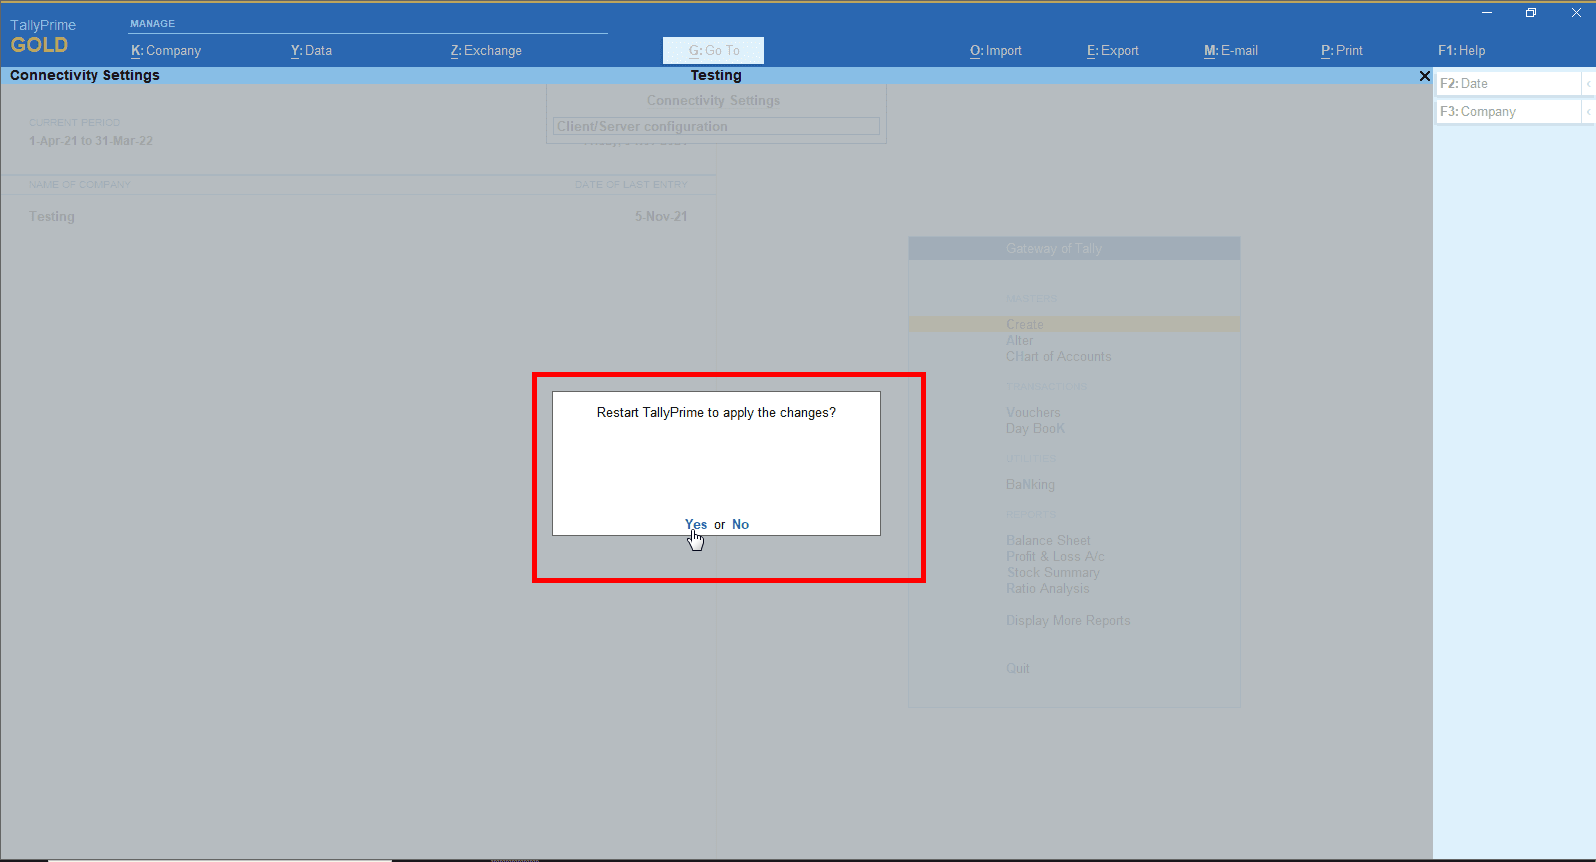
- Select Yes to restart Tally Prime and apply the changes.
- Once Tally restarts, open your company in Tally.
- Configure it with the Suvit Desktop Application.
- Follow this Step to Guide to connect with Tally Connector.