Suvit helps in creating 1000s of ledgers in bulk within some minutes. Here you can also utilize the GST Mapping feature to create ledgers using GST Portal
Create Bulk Ledgers in Suvit
How to do Bulk Ledger Creation in Suvit?
Bulk ledger creation allows you to upload multiple ledgers at once using a simple Excel format. Follow the steps below to get started:
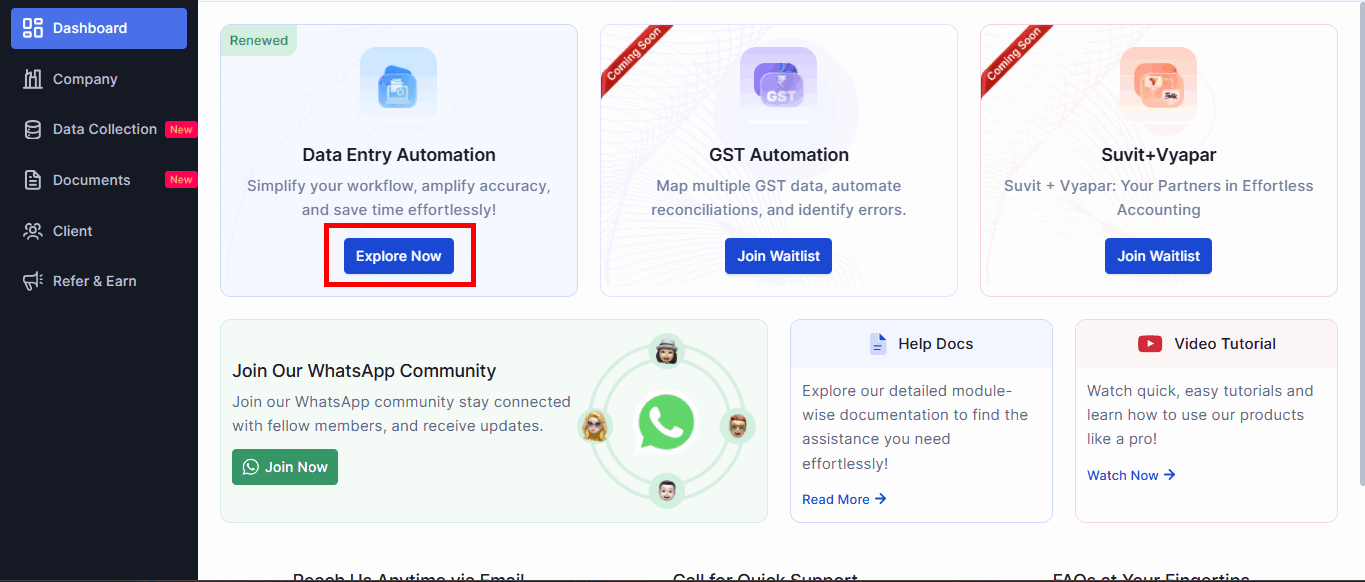
From the left sidebar, click on the Bulk Upload icon under Data Entry Automation
Select Ledger under Bulk Upload
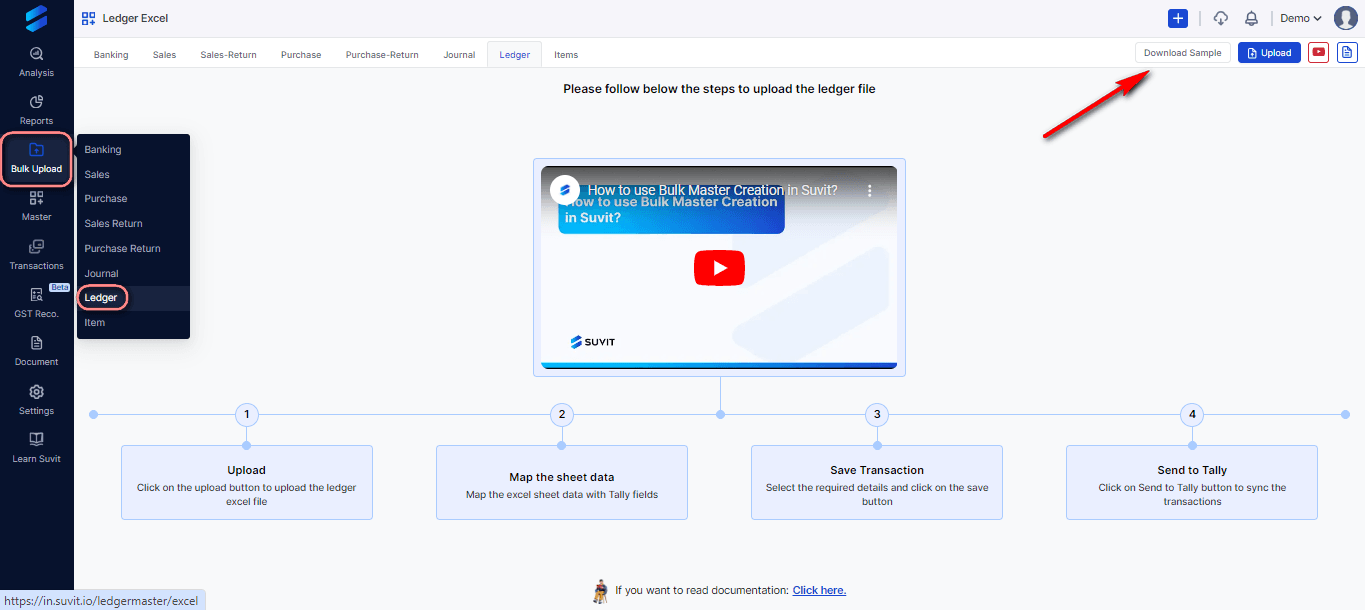
**Step 3: Sample Sheet
One can use our sample sheet or else can upload there own excel sheet. Method is same for both type.
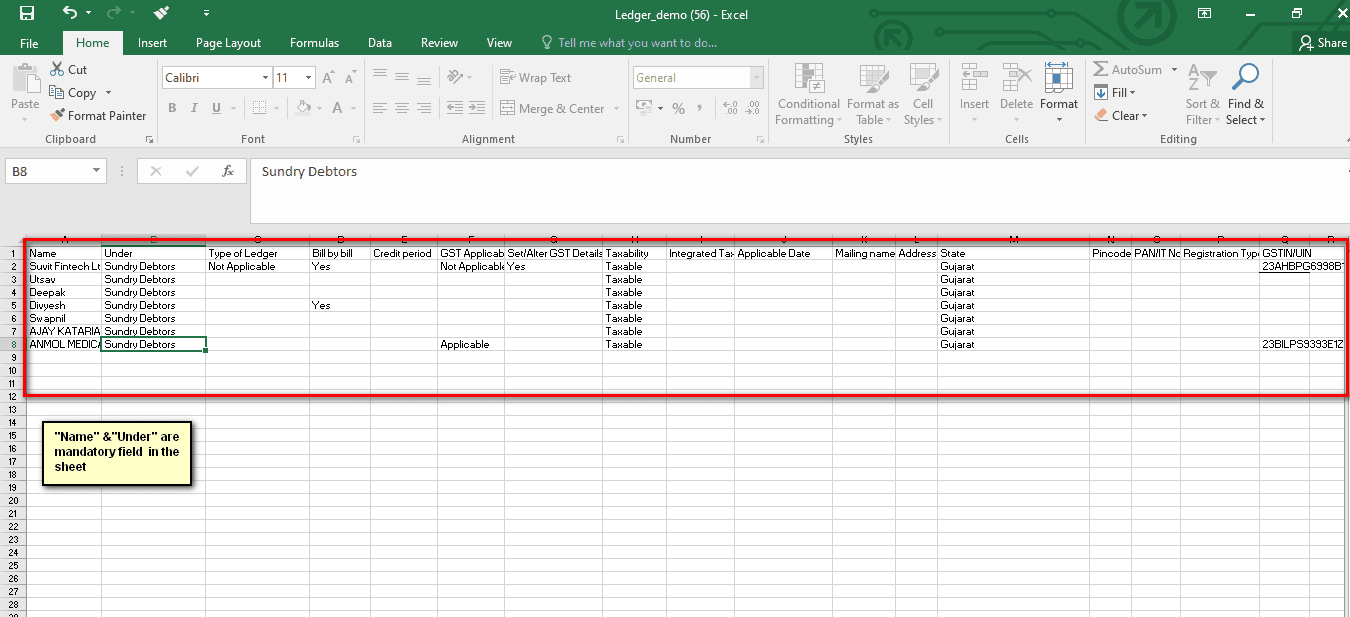
Step 4: Fill the Sample Excel
Open the downloaded file and fill in the ledger details.
Important Notes:
Properly mention the under type of the party name
Step 5: Upload Excel sheet
On the top right, click the Upload icon to upload the file
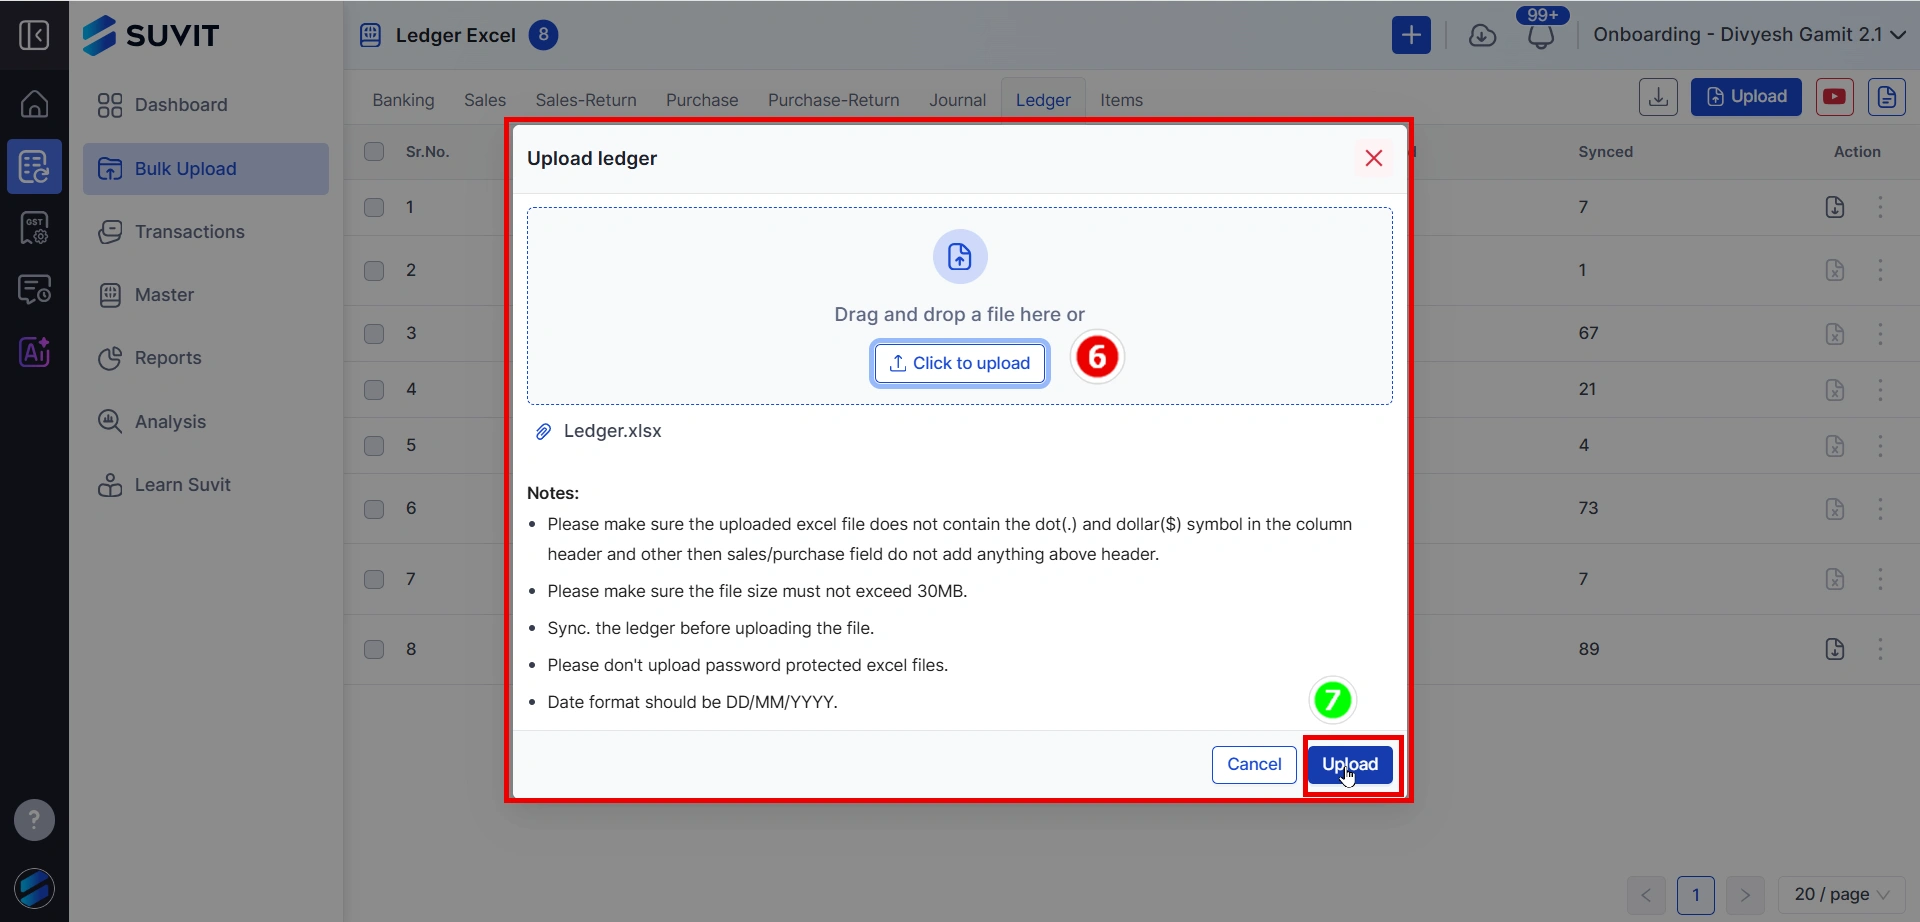
Step 6: Upload the Filled Excel File
Click on Upload.
Drag and drop your file or click to select.
Finally, press the Upload button to complete the process.
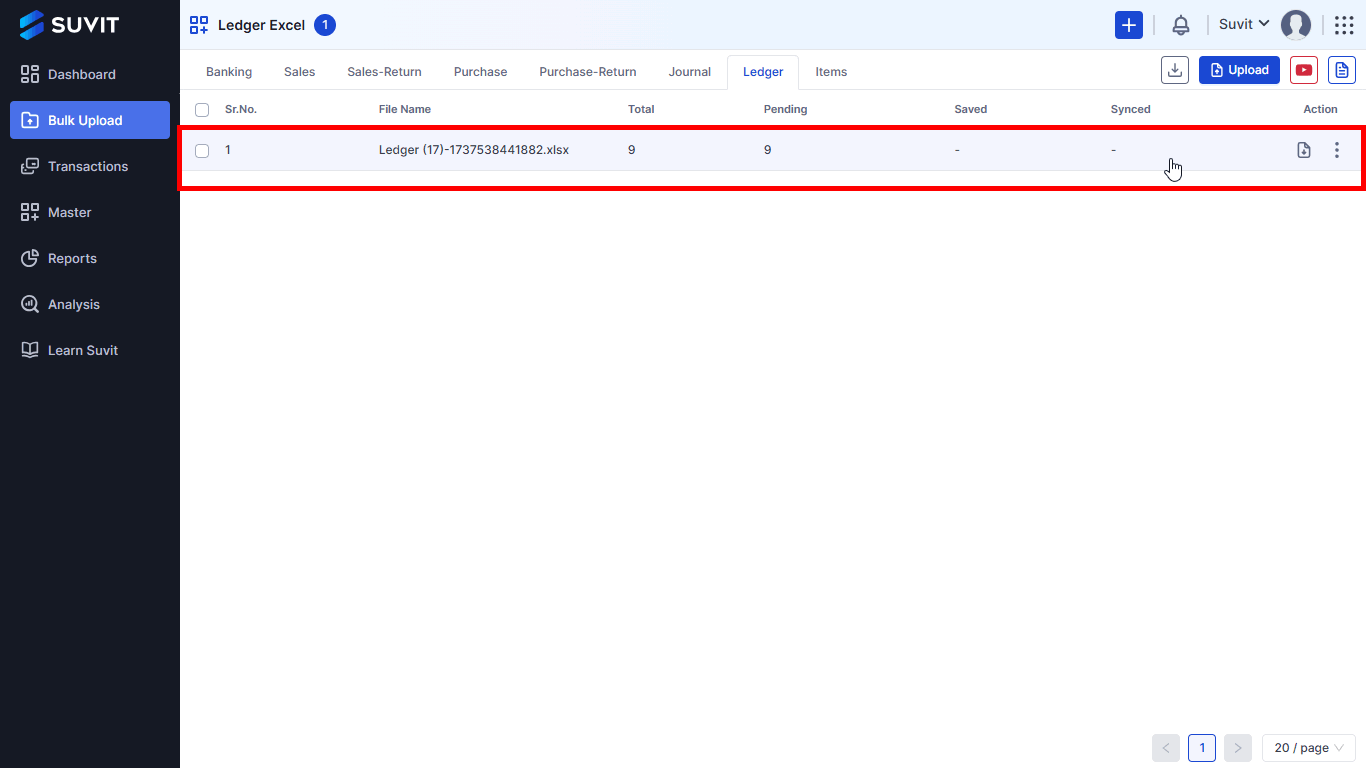
Step 7: Verify the Upload
Once uploaded, you can view your file in the ledger list Click on the file to open.
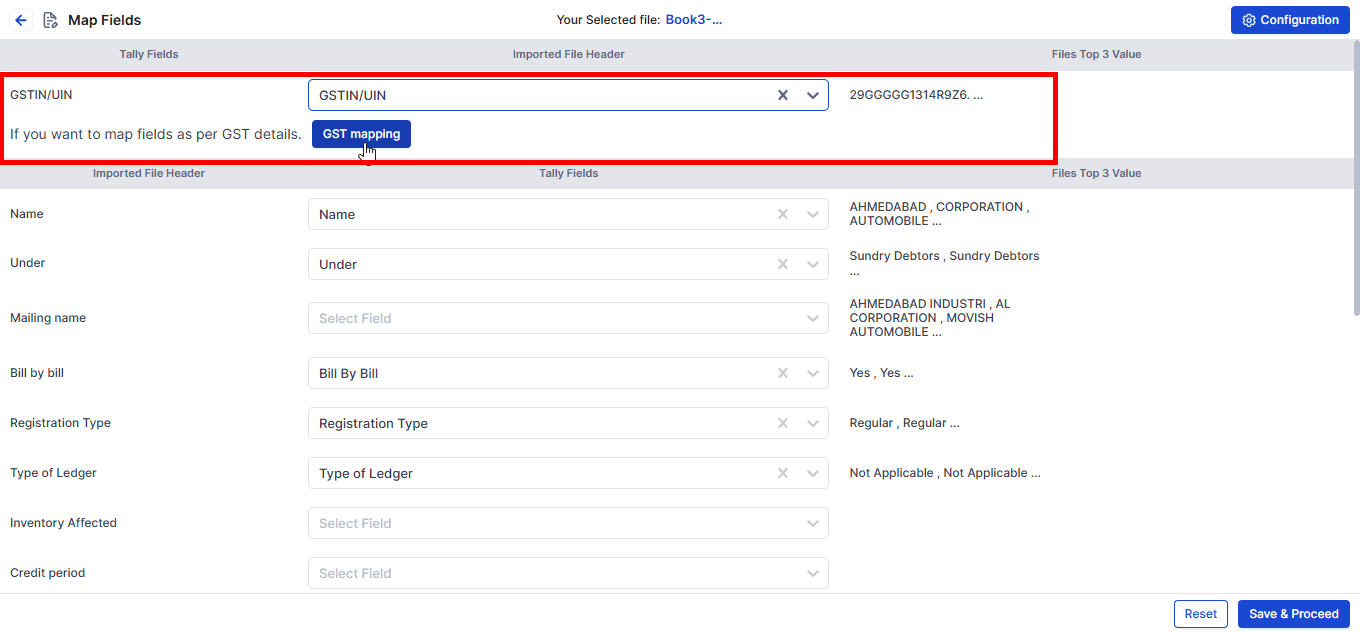
Step 8: Map Fields for Ledgers
Method 1: GST Mapping for Party Creation
Select the GST Field in the uploaded Excel sheet.
Click GST MAPPING to fetch details from the GST Portal.
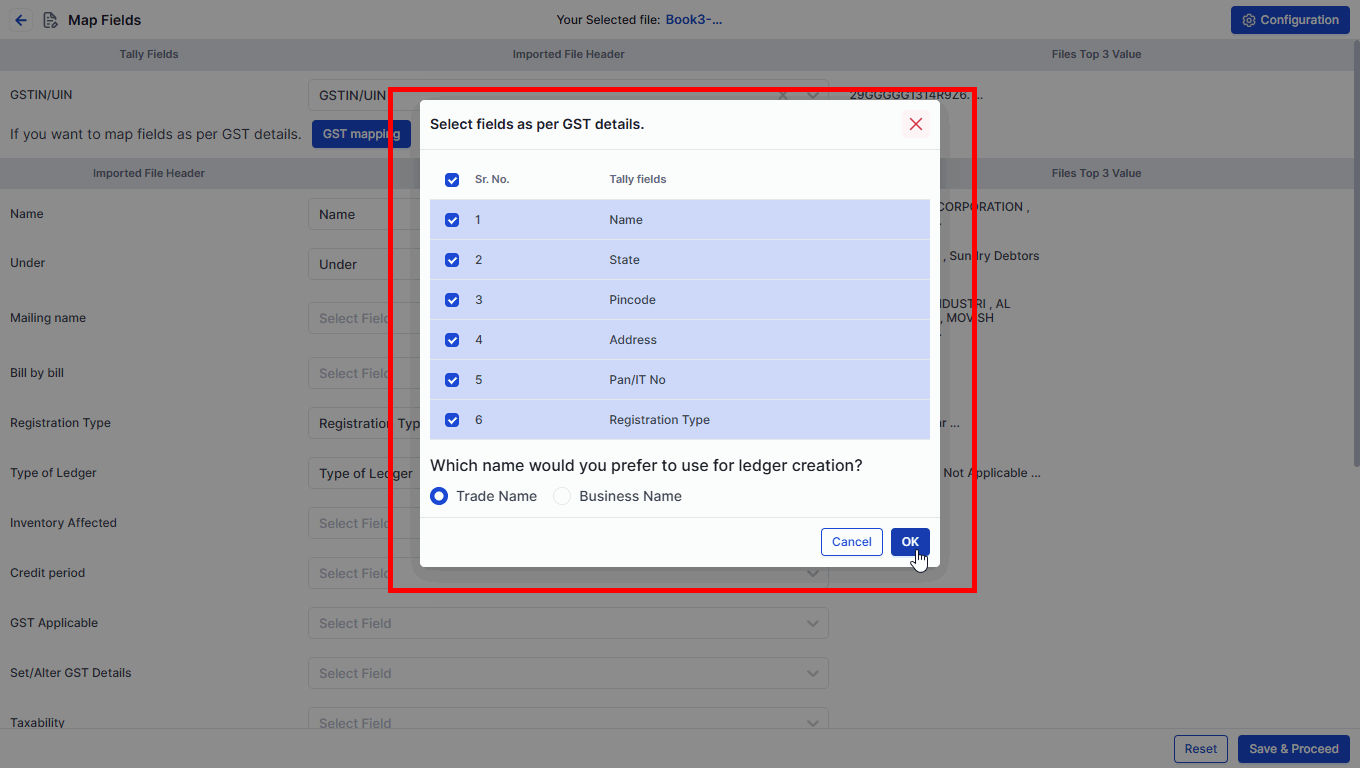
The system retrieves Party Name, State, and Tax Information based on the GST Number.
Choose the name as per "Trade Name" or "Business Name" from the Which name would you prefer to use for ledger creation? as shown above image.
Proceed to the next step for Save & Proceed .
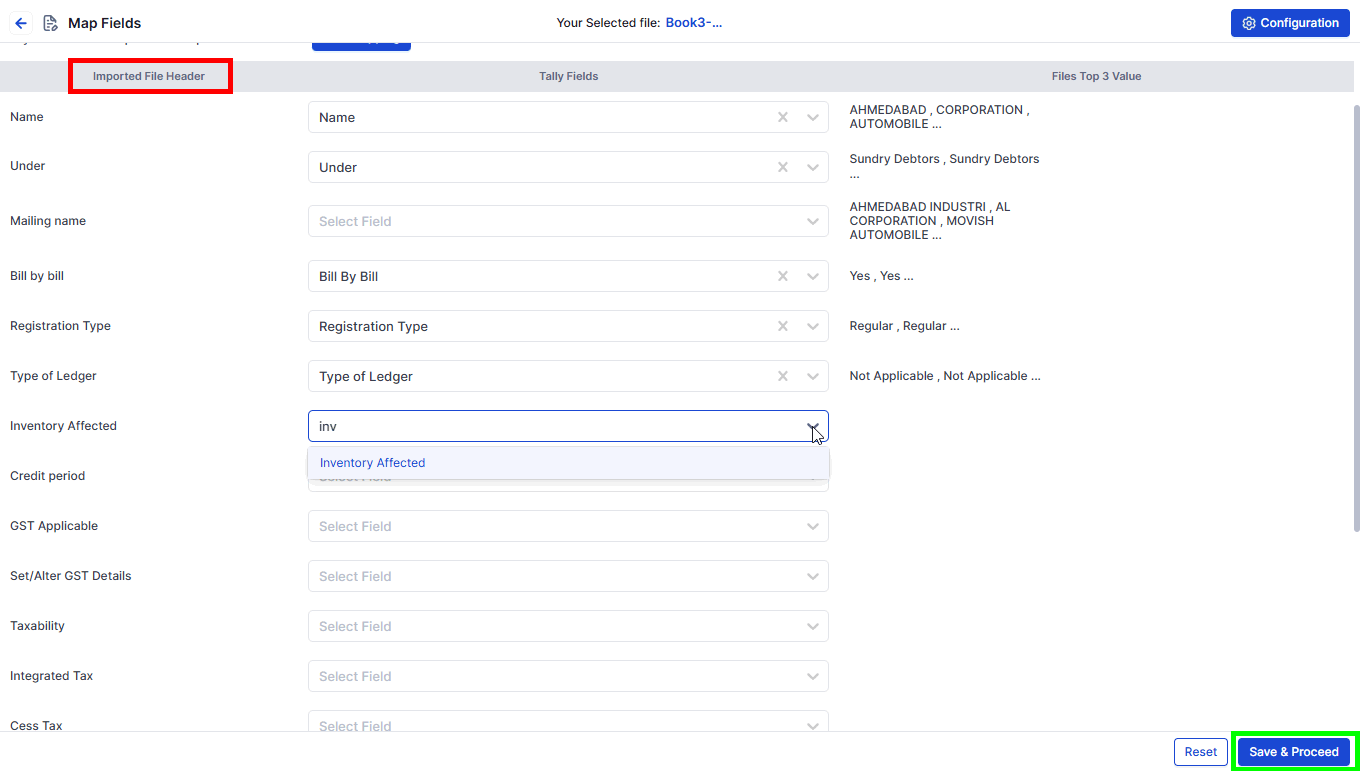
Method 2: Map Fields for Party Creation
After uploading, you will be taken to the Mapping Field Page. Map the Excel sheet fields with the system fields and click "Save & Proceed" to finalize the ledger creation.
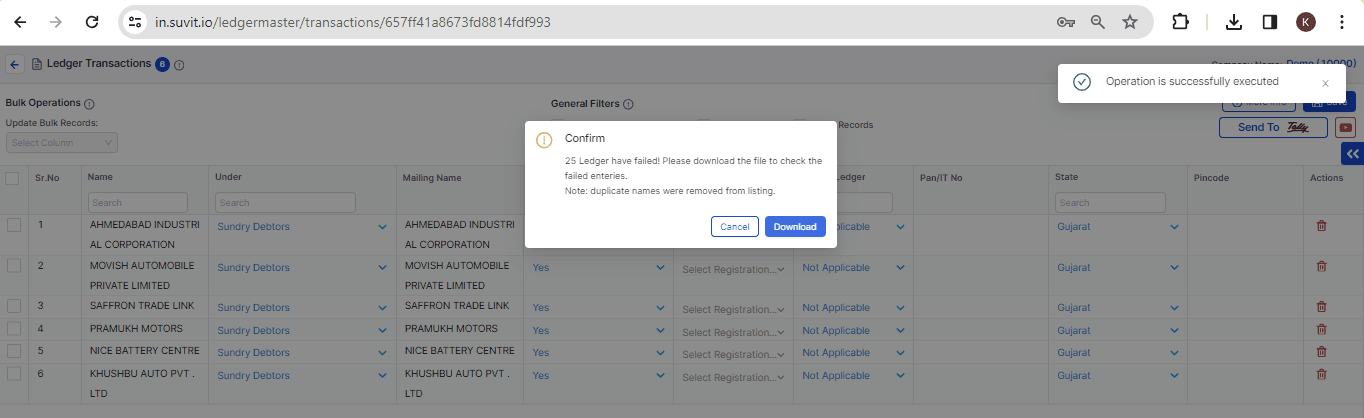
Step 9: Confirmation
If there are any issues, a popup will display the errors.
You can view the errors directly or download the Excel error log for reference.
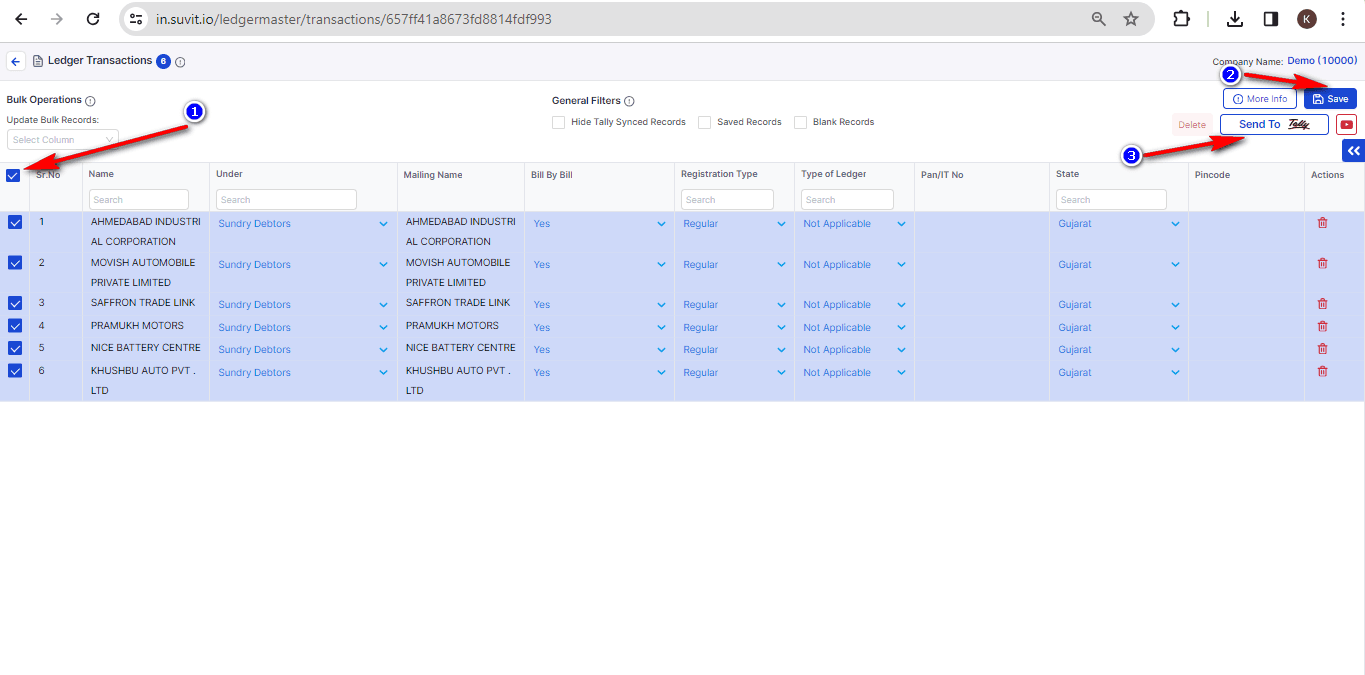
Step 7: Save & Send
Go back to the Ledger Transaction Page, select the record you want to import, and click Save.
Click on the right-side option "Send to Tally".
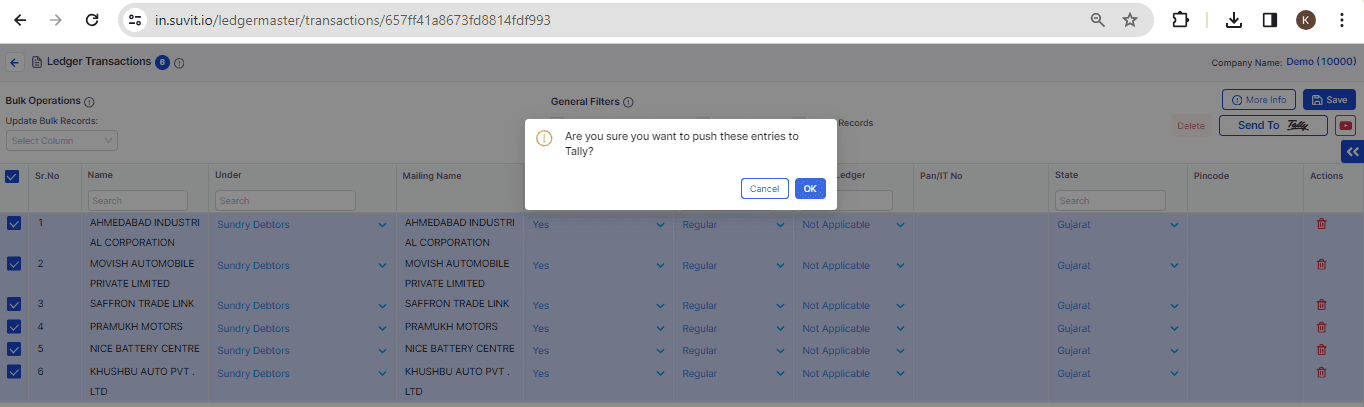
Step 10: Send to Tally
A confirmation popup will appear. Click OK to proceed or Cancel to stop.
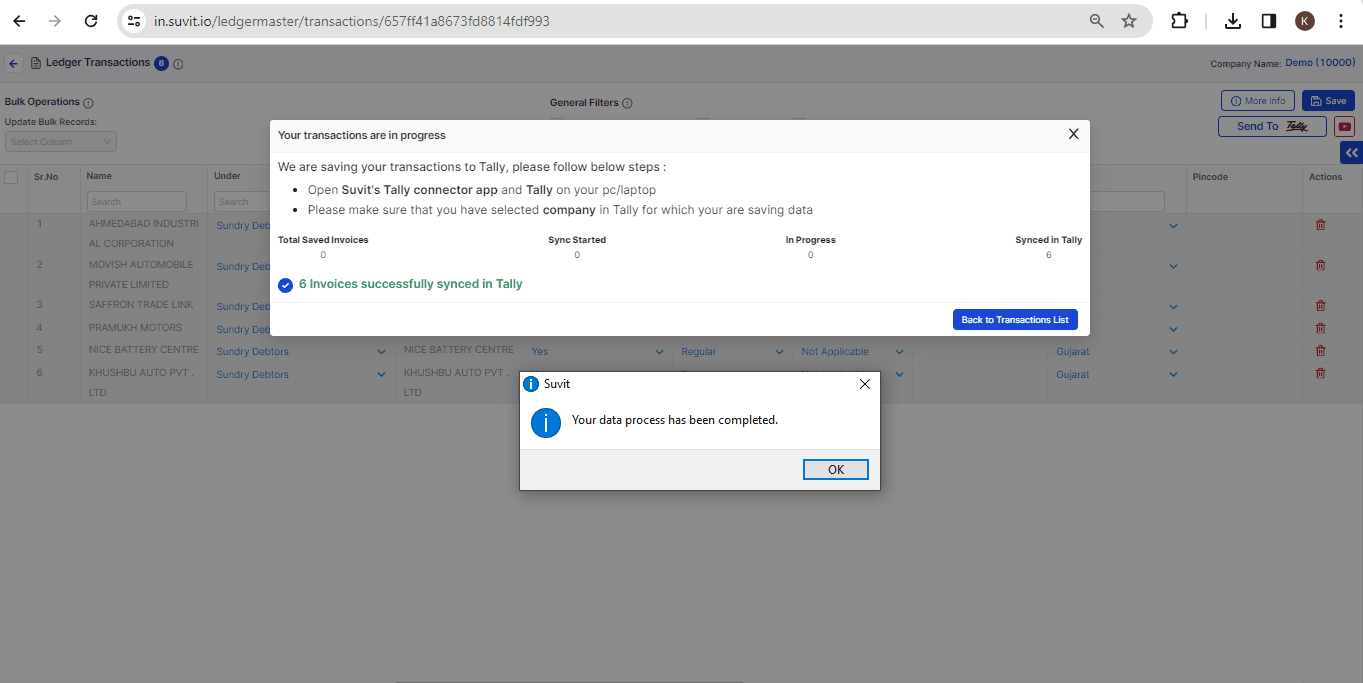
The system will sync data with Tally, ensuring successful synchronization.
Step 11: Verify in Tally
After receiving the message "Your data process has been completed", check Tally.
The ledger masters will now be available in Tally.
You May Find This Useful:
Learn more about creating bulk stock items in Suvit.