Create a ledger and stock item from purchase transaction screen
If ledgers are missing on the Purchase screen, use the “Create Ledger” option to add them instantly. Follow the steps in this article to proceed smoothly.
In Suvit, you can create:
- Ledgers → For Party Names
- Stock Items → For Goods you sell or buy
There are two simple ways to do it:
👉 One-by-One (Single Entry)
👉 All-at-Once (Bulk Entry)
✅ Method A: Create One-by-One (Single)
👤 1. Create a Party Name (Ledger)
Step 1: Click to Create
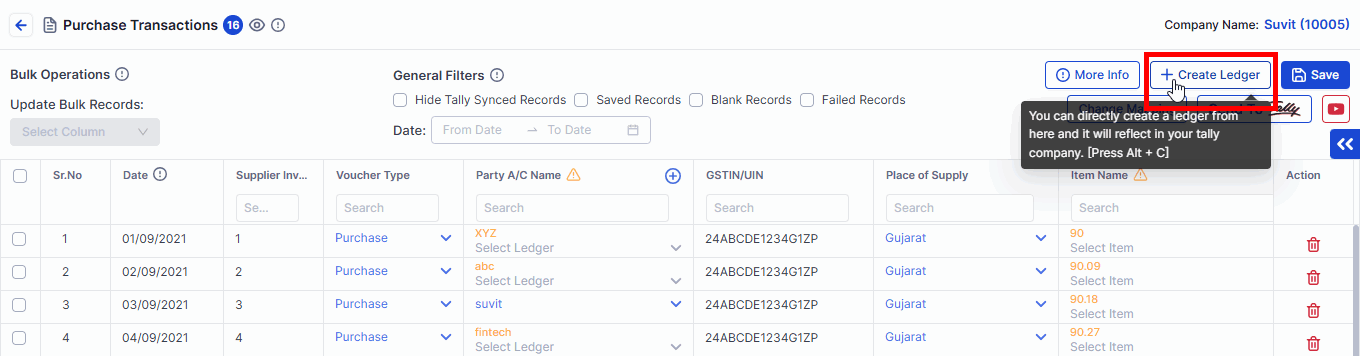
- Click the Create Ledger button
Step 2: Fill Party Details
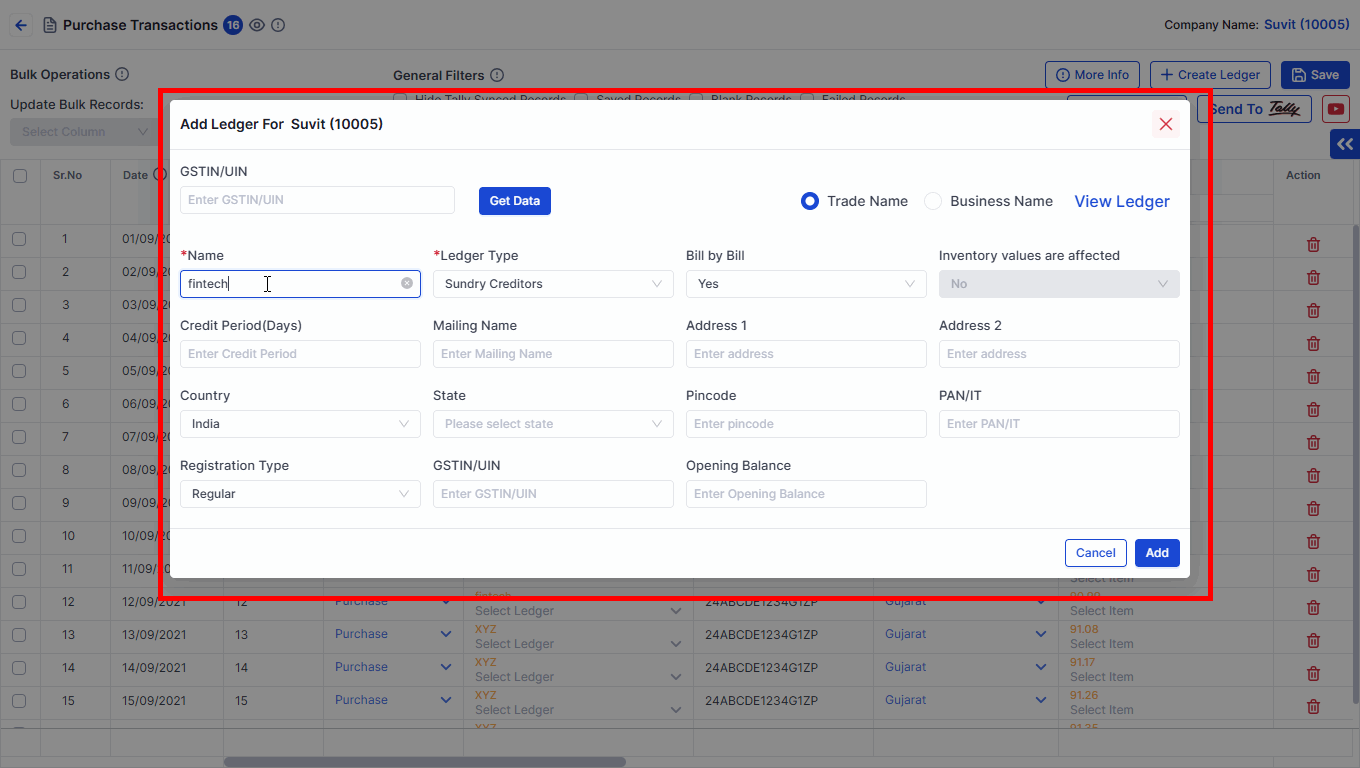
- A new pop-up will open
→ Add party name, GST number, state, etc.
Step 3: Save the Ledger
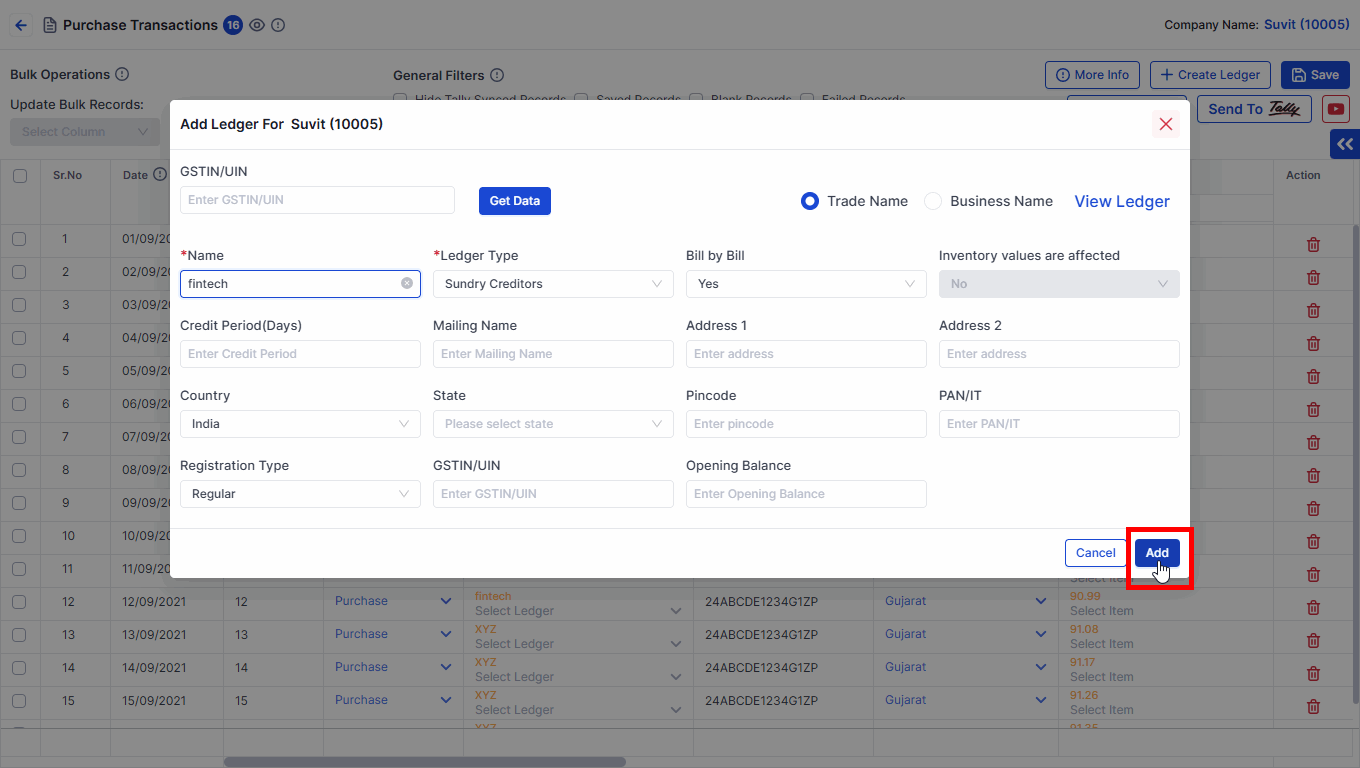
- Click Add to save the party account
💡 Tip: Once added, send one transaction to Tally — Suvit will create the ledger and then push the entry.
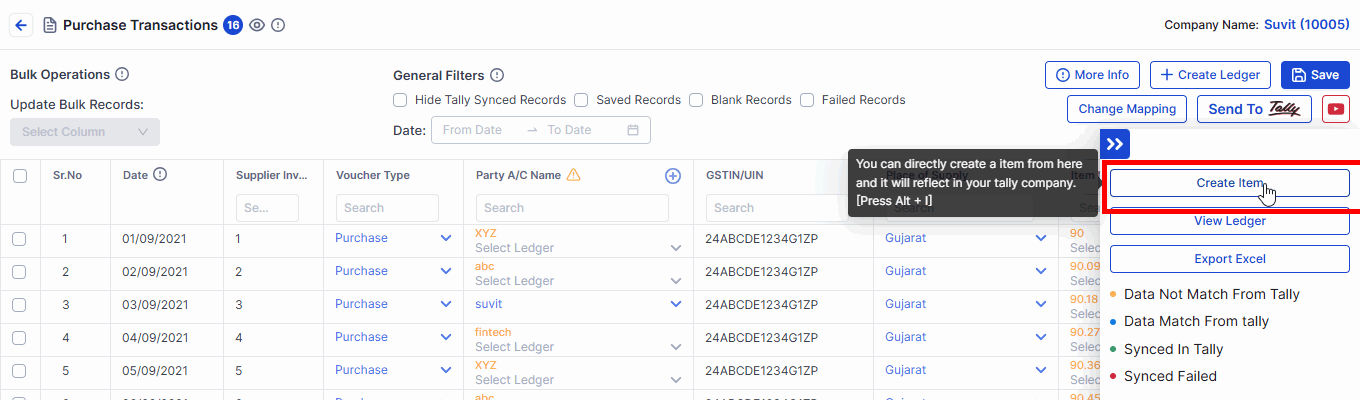
📦 2. Create a Stock Item (Only for Item Invoices)
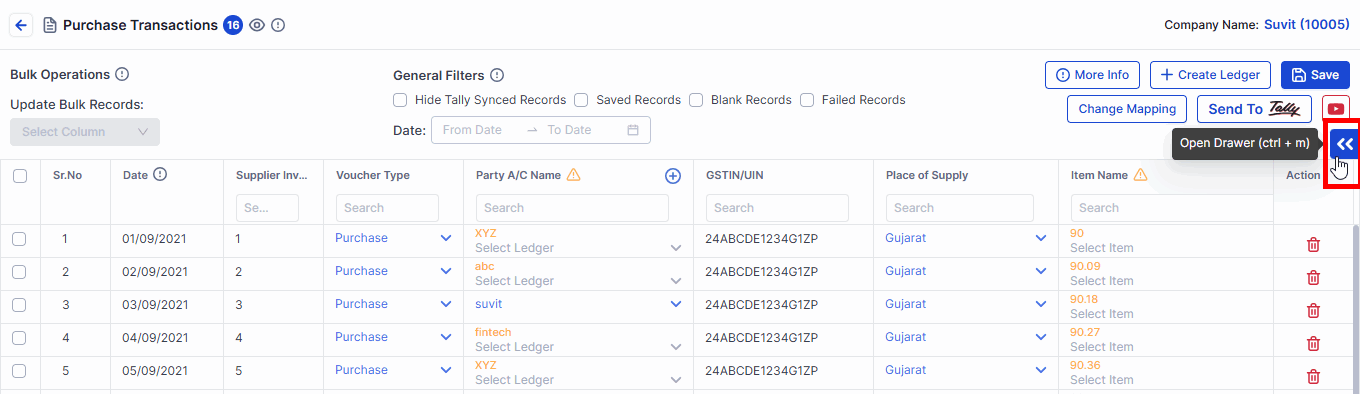
- Click on the drawer icon to open stock settings
Step 2: Click “Create Item”
Step 3: Fill Item Details & Save

- Add name, unit, GST %, etc.
- Click Add to save the item
💡 Tip: Send one invoice to Tally — the item gets created first, then the data is pushed.
📥 Method B: Bulk Creation (Multiple Entries)
👥 1. Bulk Create Party Names
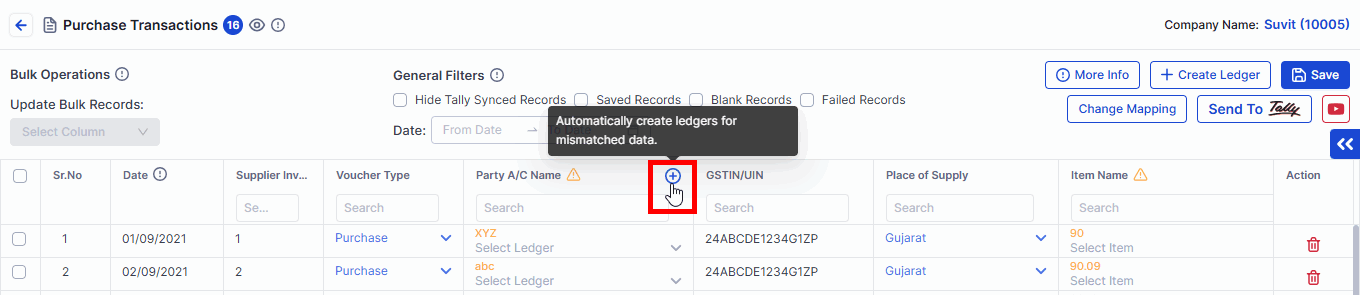
- Click the orange Plus Icon to add many party names together
- For full instructions, click here
📌 Note: Once you send data to Tally, the ledger is auto-created there.
📦 2. Bulk Create Stock Items
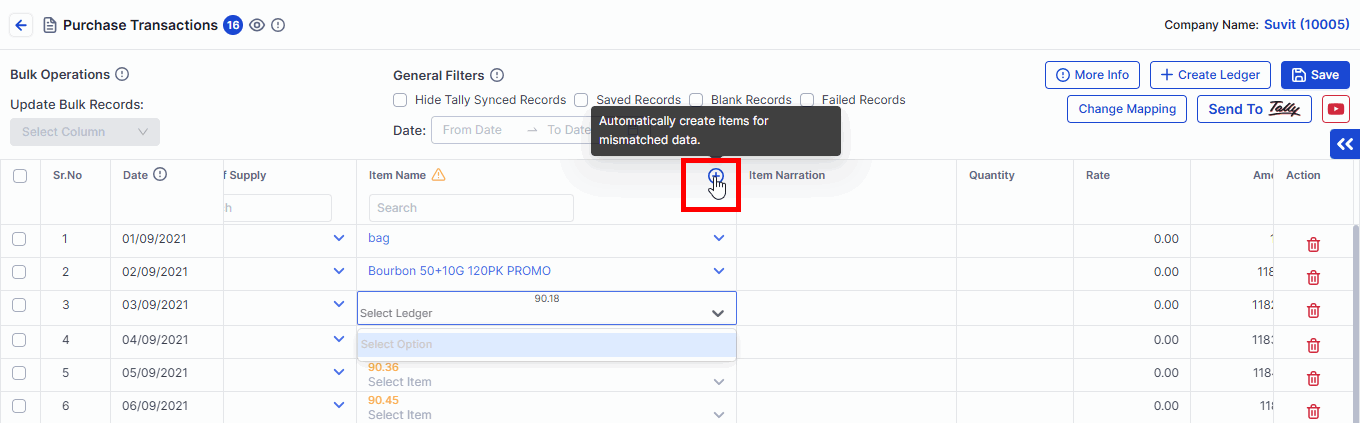
- Click the orange Plus Icon to add many stock items at once
📌 Note: New stock items will be created in Tally as soon as you push the data.
📚 You May Find This Useful:
Want to learn how to send this data to Tally?
👉 Explore More