Use Suvit Drive to send and receive documents from clients — in a structured, trackable way. Everything from bank statements to purchase records can be managed easily.
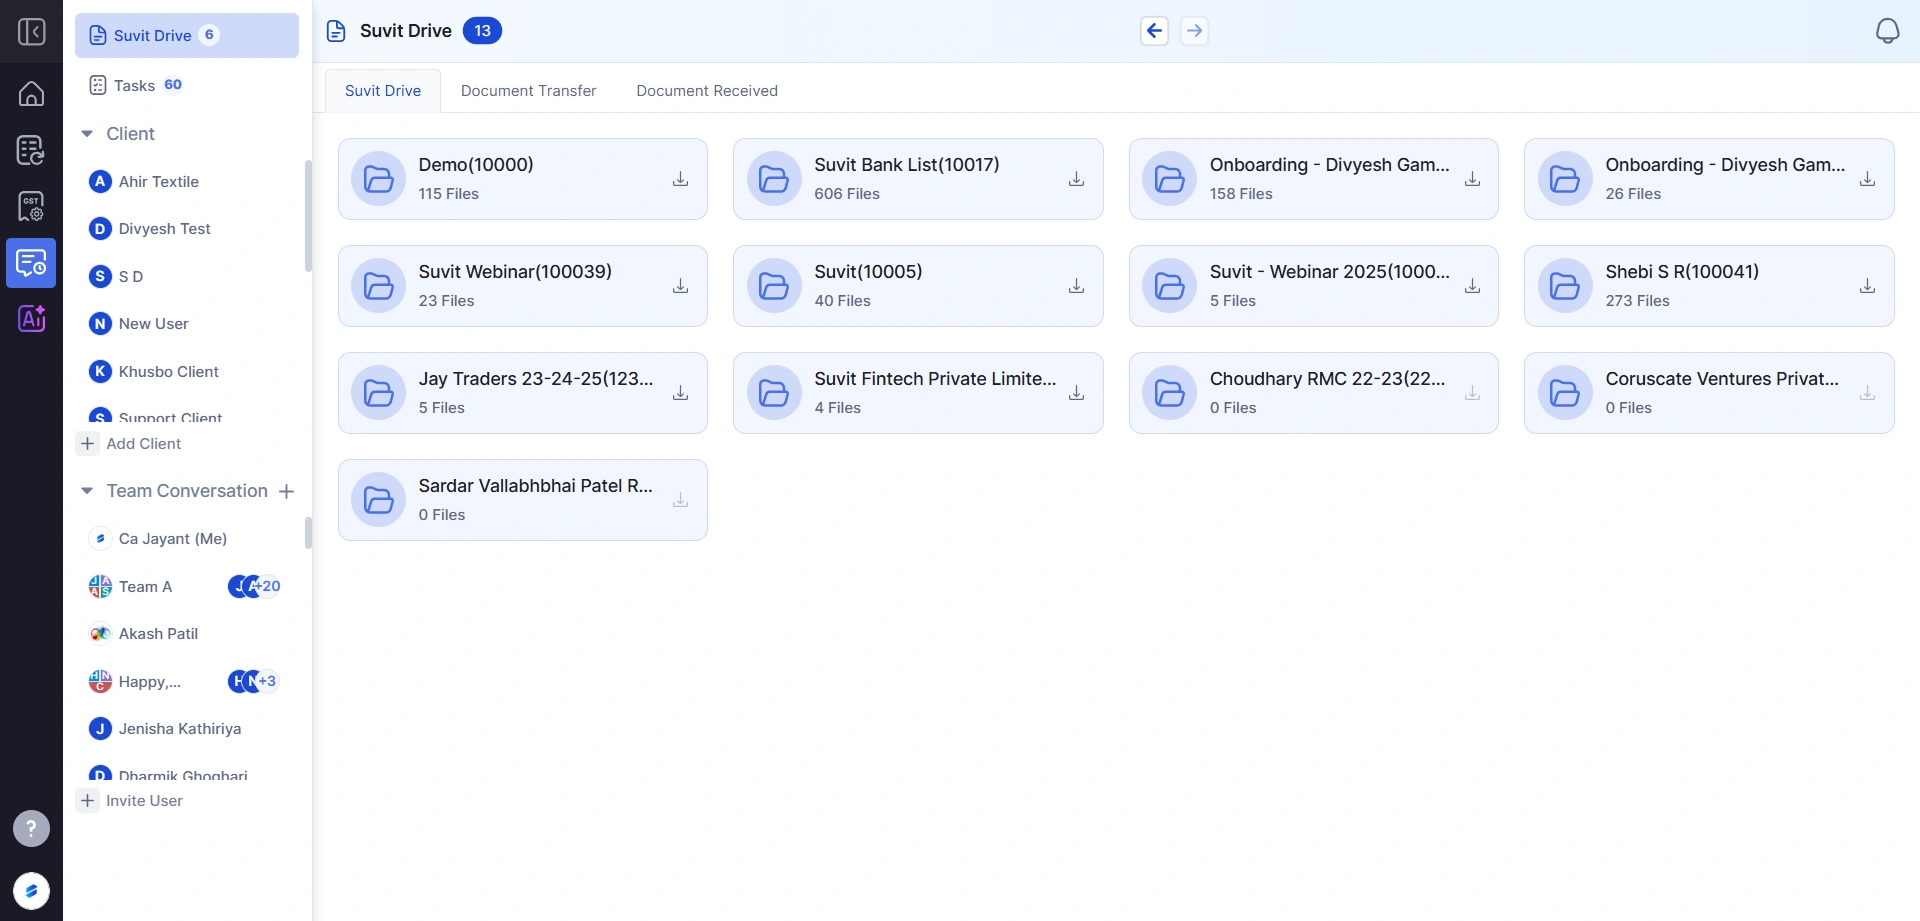
→ Each folder shows how many files are already stored ** All files and folders can be download** Full and module wise
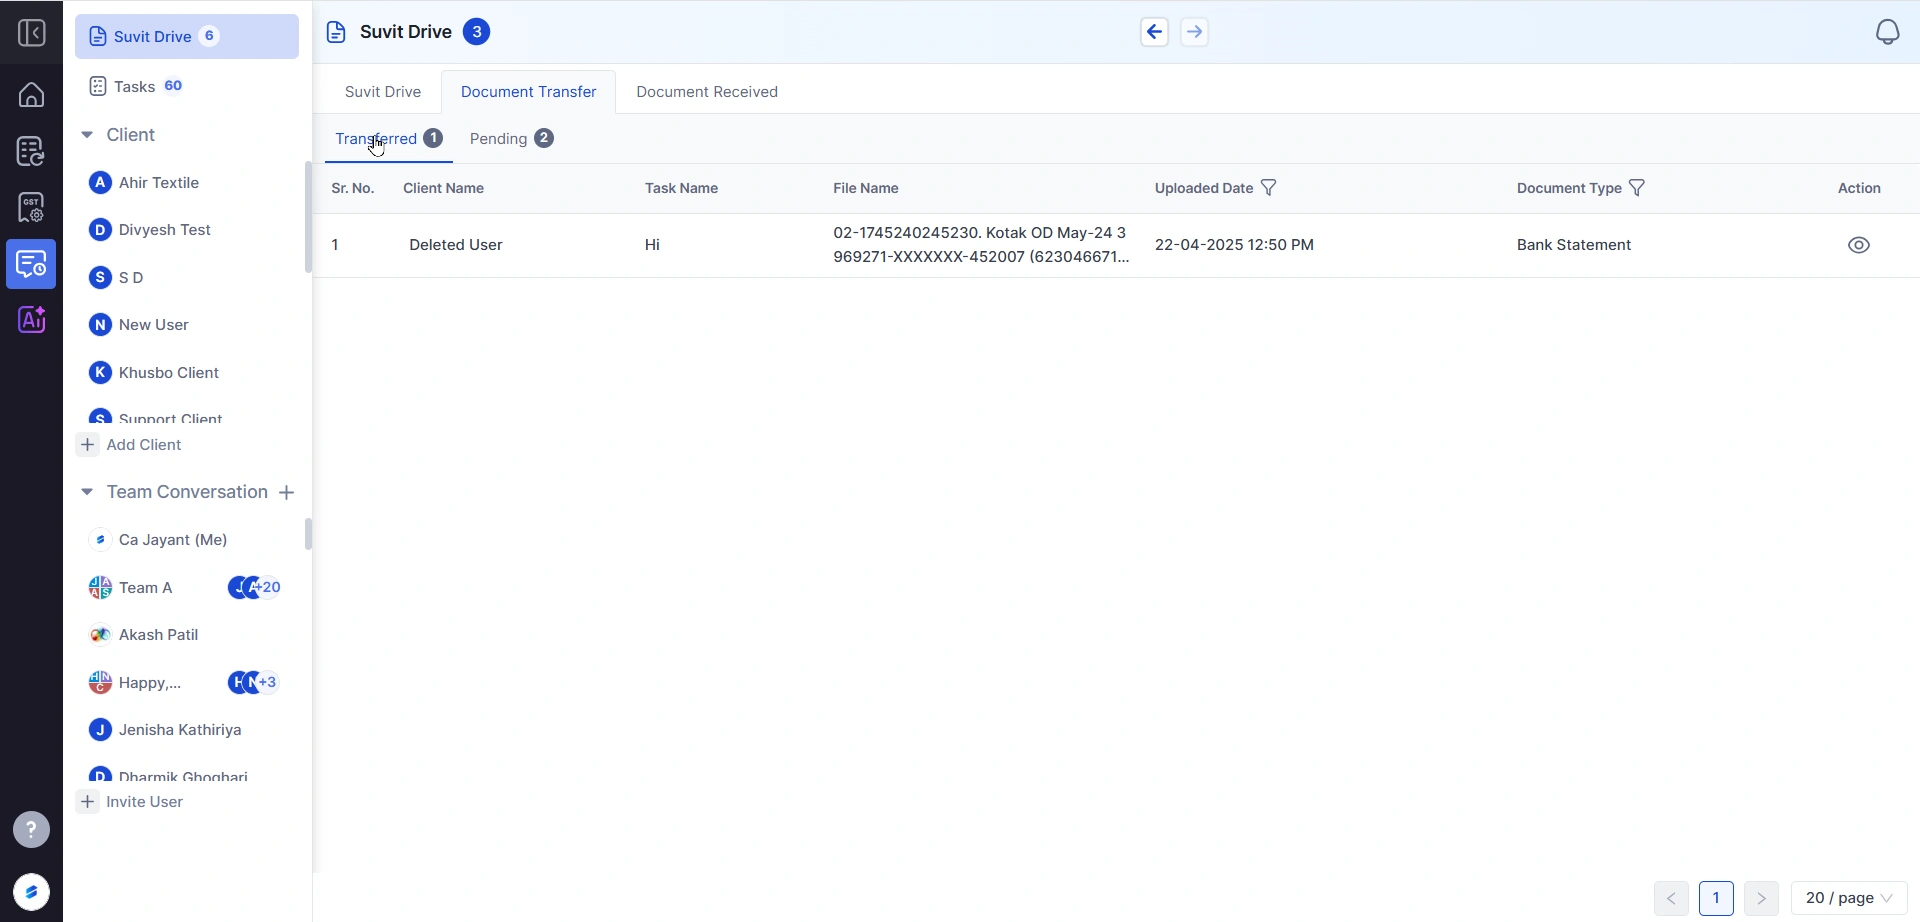
Click on the Document Transfer tab
You’ll see:
→ Transferred Tab: Files already shared with clients
→ Pending Tab: Files that still need to be sent
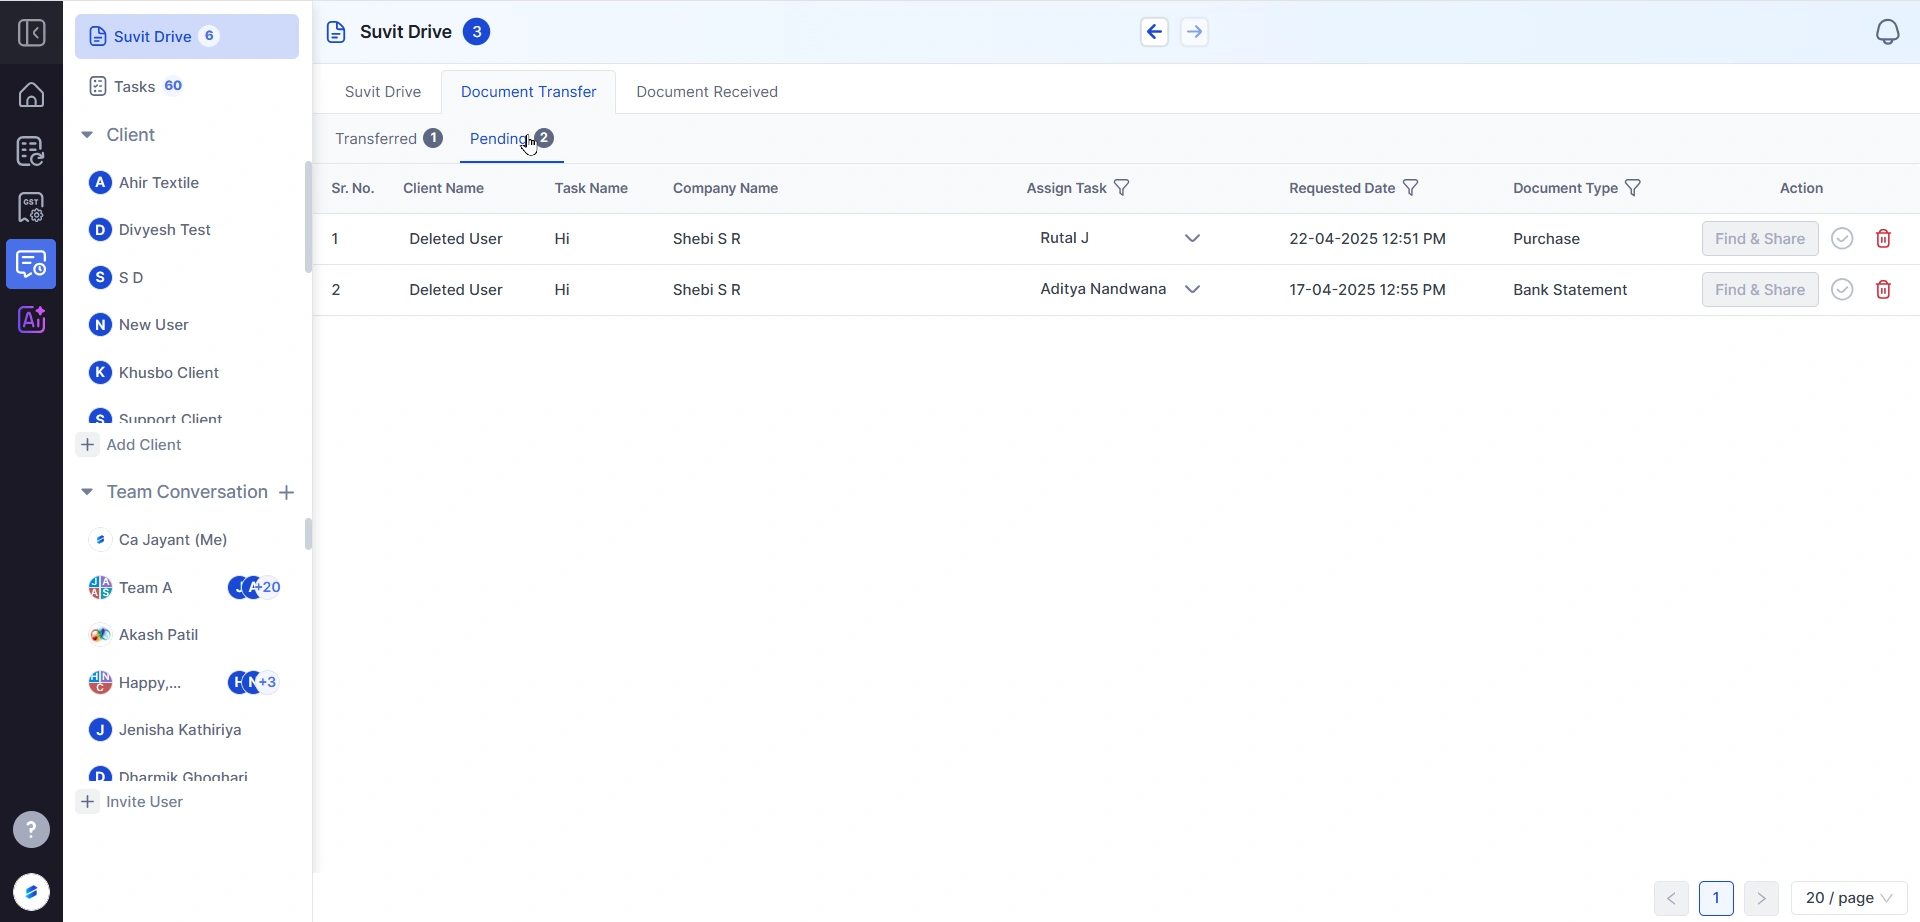
View details like:
→ Client and Company Name
→ Task Name
→ Assign Task: Task can be assigned to secondary user
→ Requested Date
→ Document Type (like Bank Statement or Sales/Purchase)
Use the Find & Share button to upload and share the file.
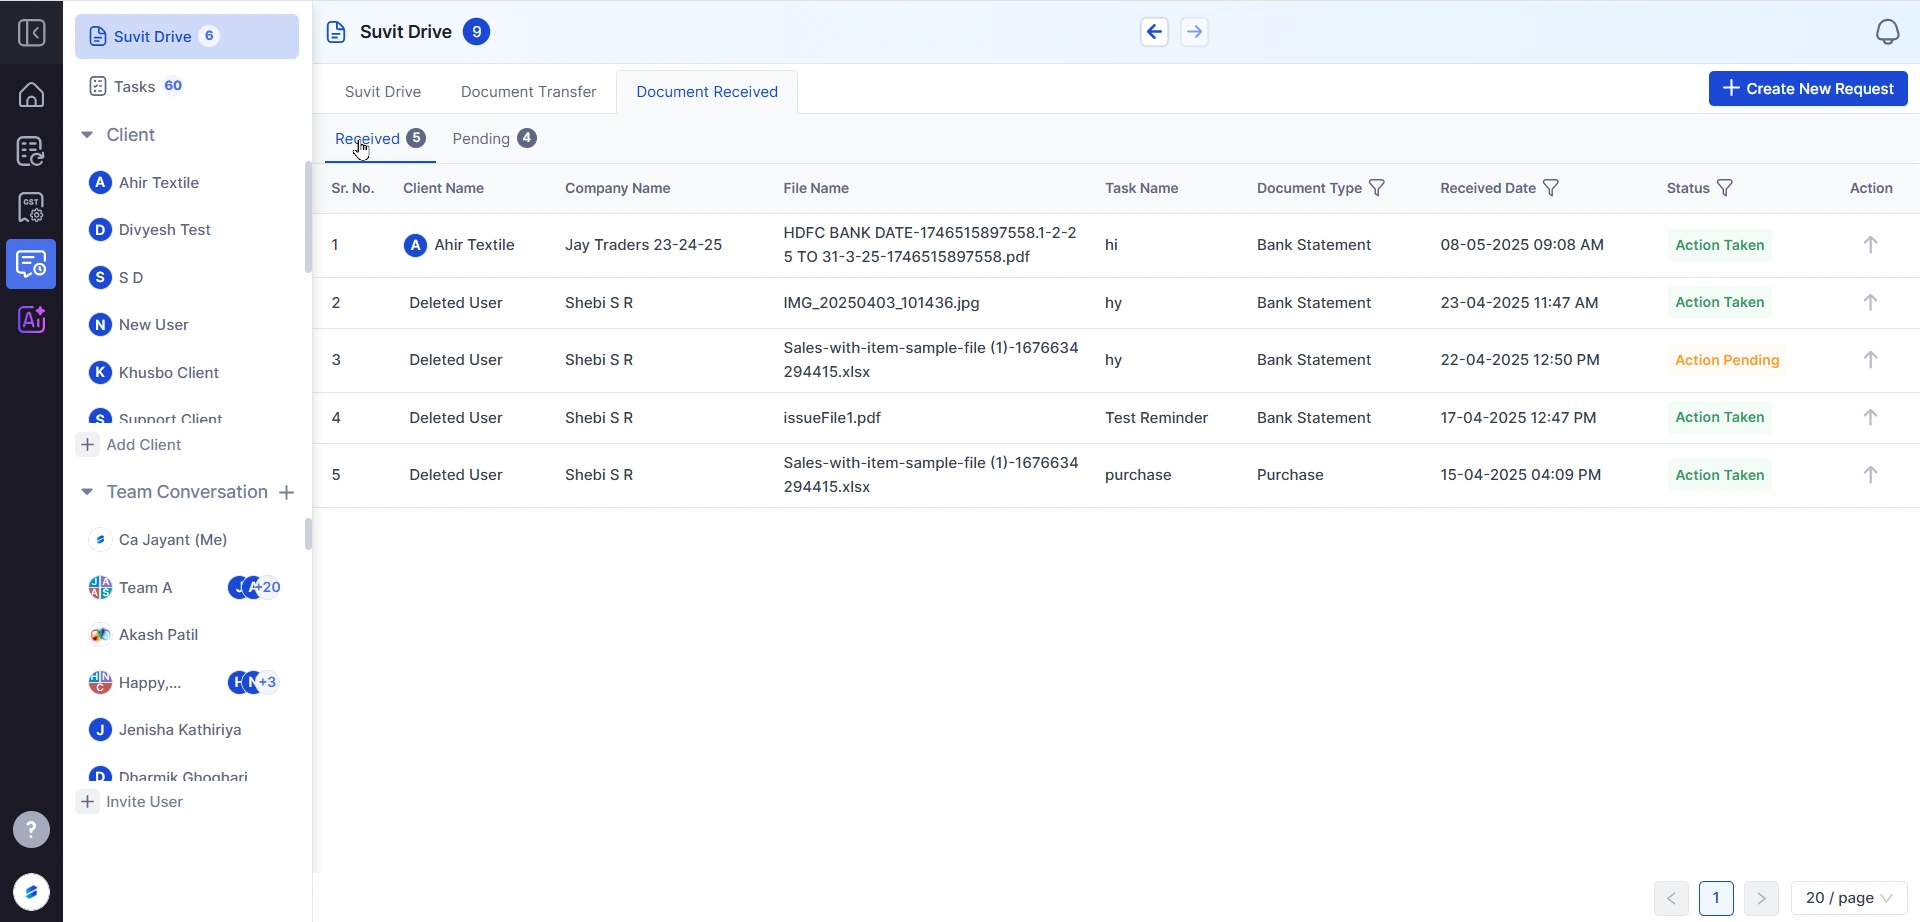
Switch to the Document Received tab
You’ll see all files sent by clients
→ Status: Action Taken or Action Pending
→ You can mark them as accepted or take necessary steps
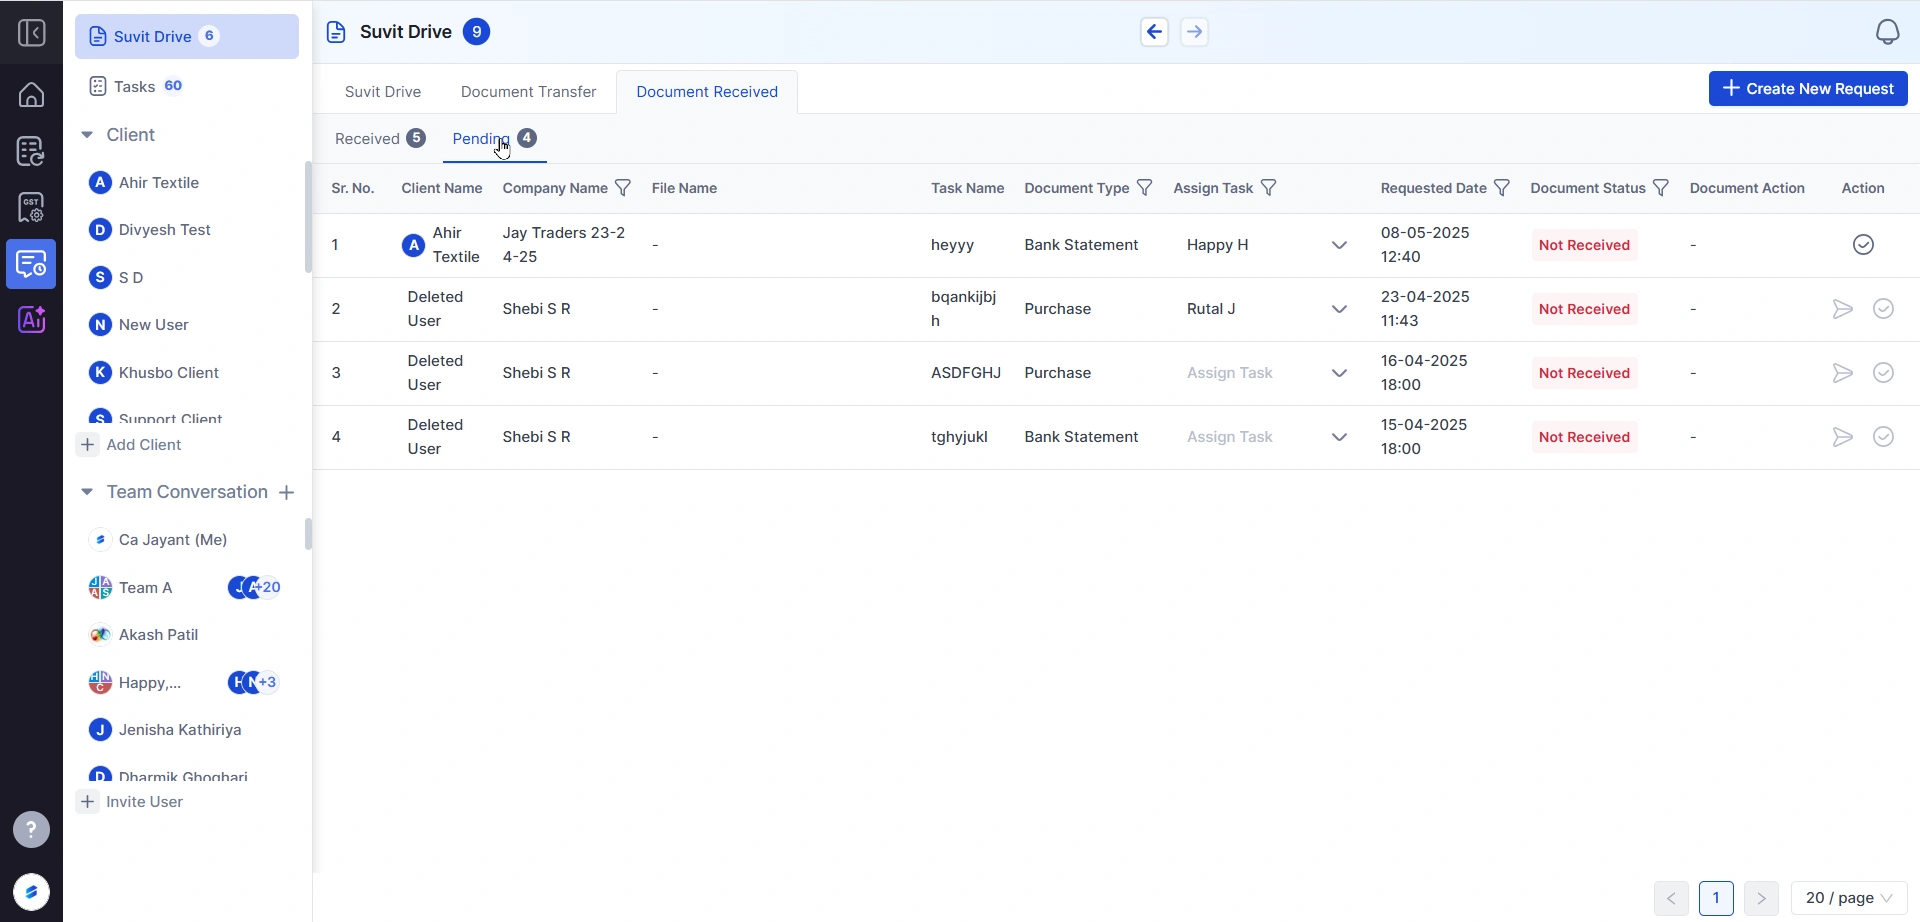
Switch to the Pending tab under Document Received
These are reminders you sent — but haven’t received a document for yet
→ You’ll see “Not Received” in red → You can take follow-up action

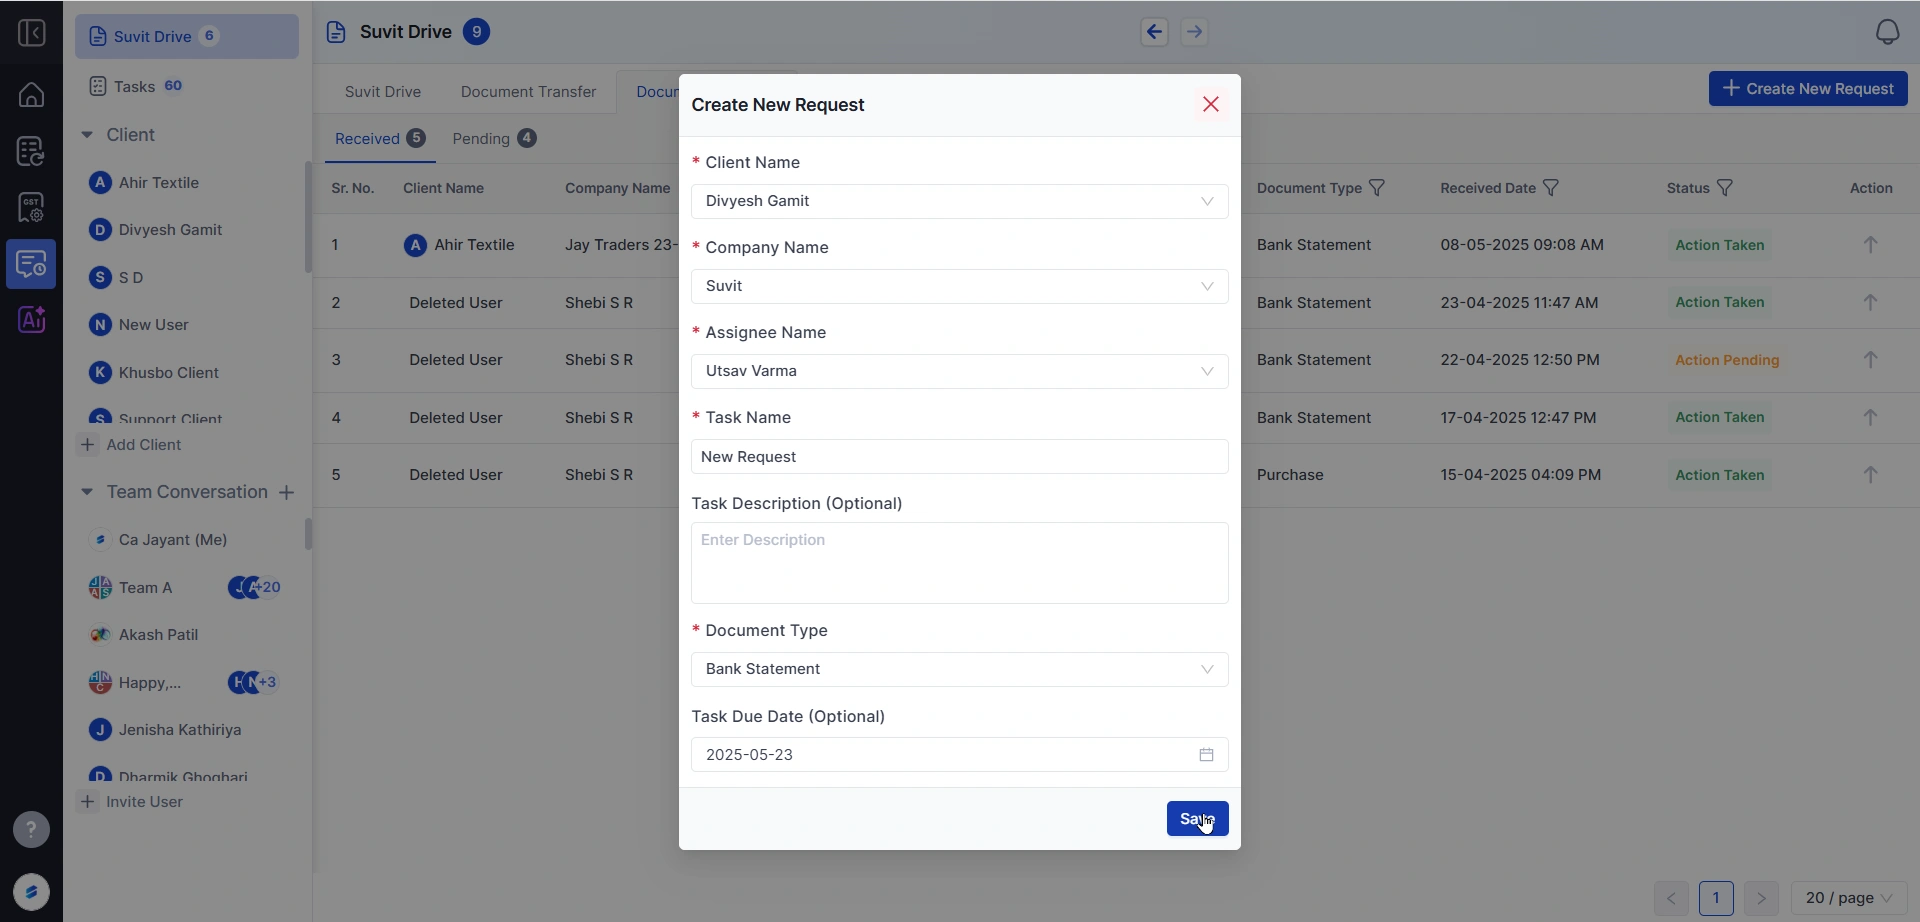
Click on Create New Request
Fill in:
→ Client Name
→ Company Name
→ Assignee (person responsible)
→ Task Name
→ Document Type
→ Due Date (optional)